
STEP ONE
GET A PAIR OF SHOES W/ LACES
Training Ties® are one size fits all. All you need is a pair of laced shoes (make sure the laces have the plastic aglet at the tip).
STEP TWO
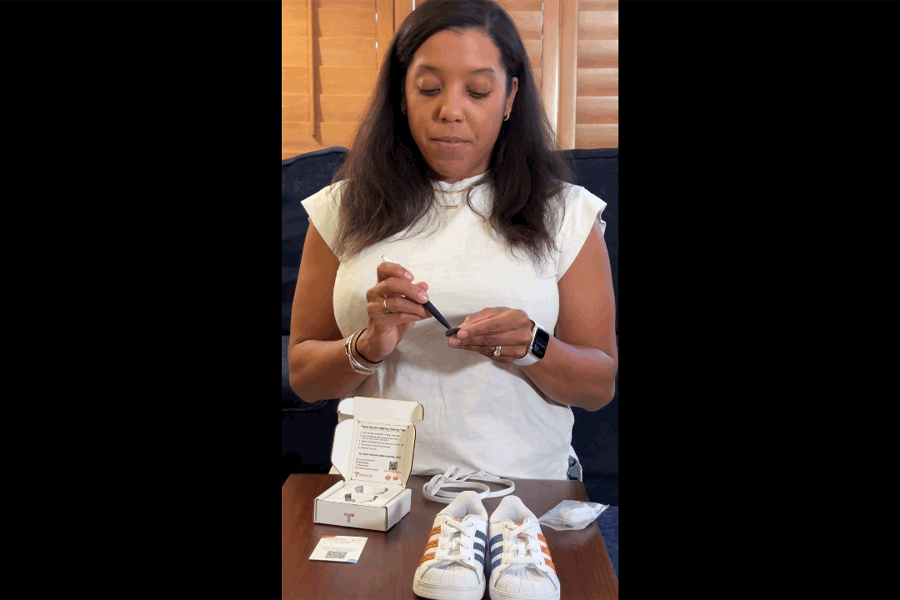
TEST YOUR TIES
Shoelaces come in all different shapes and sizes. Training Ties® are made of vegan leather with holes small enough to fit snugly on smaller kids' laces, and they stretch to fit thicker laces too.
Because lace sizes vary, we recommend testing the laces on the Ties first — gently stretch the hole with the tip of a pen if it's too snug — before setting up your learner.
STEP THREE
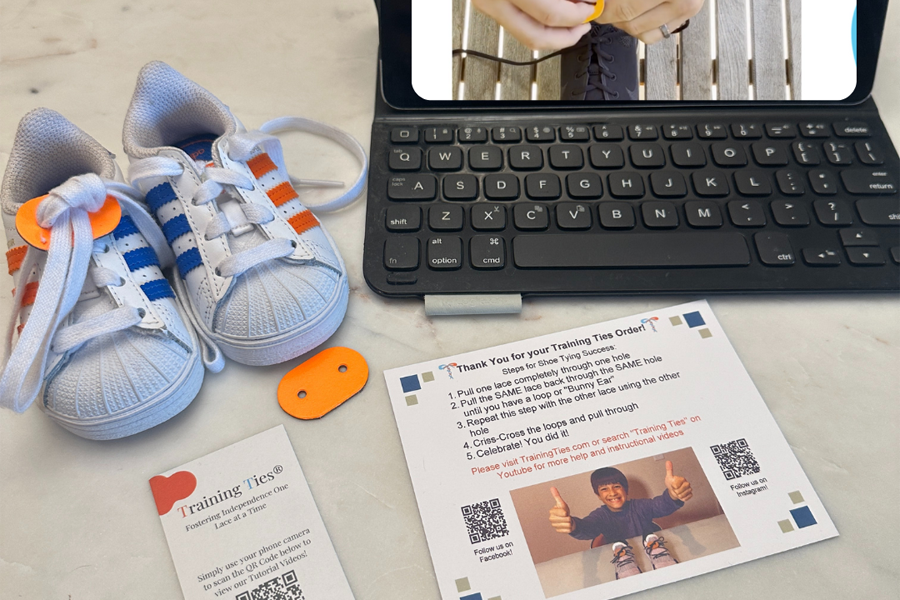
SET UP YOUR LEARNER
Set your child up for success before they start. Give them a quiet, comfortable spot with the shoe in front of them — we recommend practicing with the shoe off the foot first, so it's easier to see each step.
Every pair of Training Ties® comes with a printed tutorial card. Scan the QR code on the card to pull up our step-by-step video, and have it ready on a phone or tablet nearby.

STEP FOUR
PLAY THE TUTORIAL AND LET YOUR LEARNER TRY
Play the tutorial video and let your child follow along and try on their own. Stay close by, but give them space and a little silence so they can work through each step — step in only when they ask for help.
The checkpoints hold their progress in place, so even if a step is tricky, they won't have to start the whole knot over.

STEP FIVE
I DO, WE DO, YOU DO
If your learner gets stuck and asks for help, use the "I Do, We Do, You Do" approach. First, you do it — slowly show them every step on the shoe while they watch. Then, do it together — say "now let's do it together," helping only when they ask. Finally, they do it — encourage them to try on their own while you simply watch.